How To Change Guitar Strings
In this article and video lesson, we will teach how to change guitar strings. This is a skill that is important to learn, because changing guitar strings is something you will need to be able to do at some point. There are a few reasons why you would need to change your guitar strings; you may have broken a string, or the strings might be excessively dirty or have oxidized or they may be difficult to keep in tune.
There are a number of different techniques and practices for changing guitar strings and the way I will show you here is only one method. It is not necessarily the “right” way or best way, but it is the way that I personally change my guitar strings and I have found it to work well for me.
The video lesson can be viewed below, and the step by step article can be found below the video.
How To Change Guitar Strings Video Lesson
How to Change Guitar Strings (step by step)
The first step in changing your guitar strings is to remove all of the old strings. Some people believe that it is not a good idea to remove all of the strings at once and that you should only change one string at a time to keep the tension consistent on the neck. While this is not a bad practice, I personally prefer to remove all of the strings at once, as I then take that opportunity to clean the guitar and if I have time, I will even apply a lemon oil treatment to the fret board, which can only be done if the strings have all been removed. Having all of the strings off the guitar for a few minutes, should not cause any problems with the guitar due to the change in tension.
Tools required
To make changing the guitar strings easier, it is recommended that you have a couple of tools on hand;
-
Wire cutters
-
String winder

-
Polishing cloth

Removing the old strings
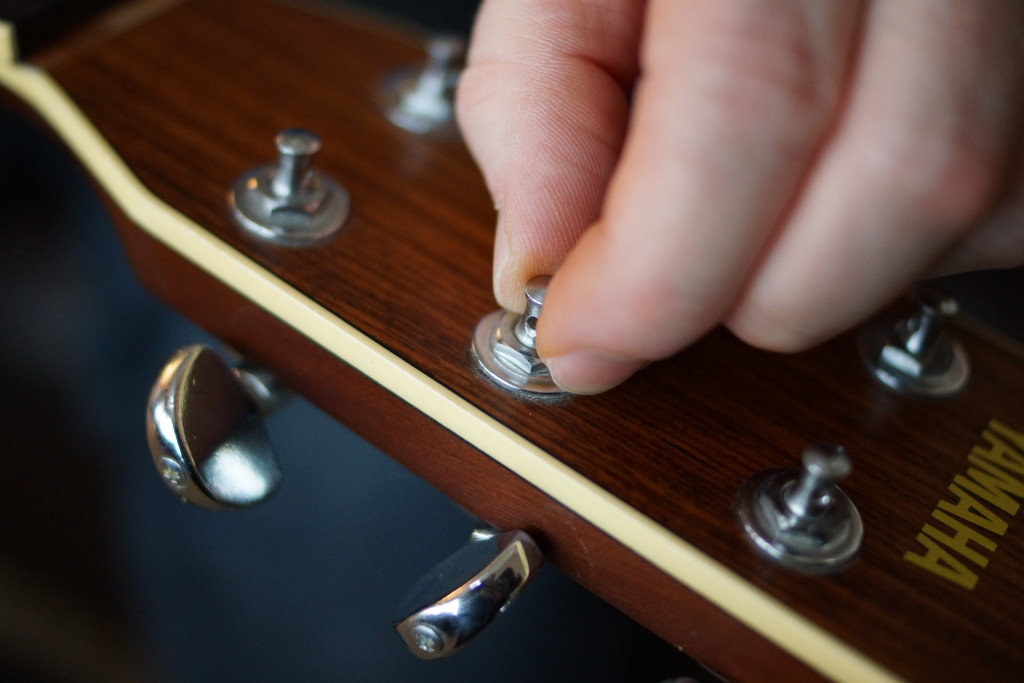
To remove the old strings, you will need to simply unwind the string from the tuning peg on the headstock. Once the string is loose enough, it can be unwrapped from the post by hand.
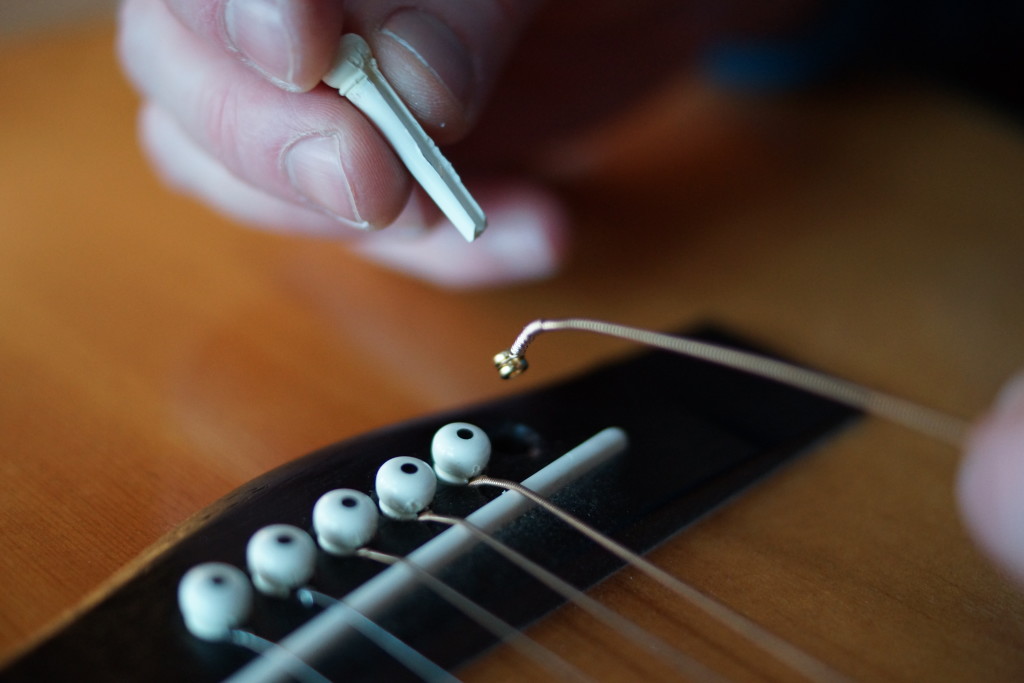
Once the string is off the tuning peg, it can be removed from the bridge. To do this, simply pull out the bridge pin holding the string in. The easiest way to do this is by using the string winder tool. There is usually a notch in the tool designed specifically for this task.
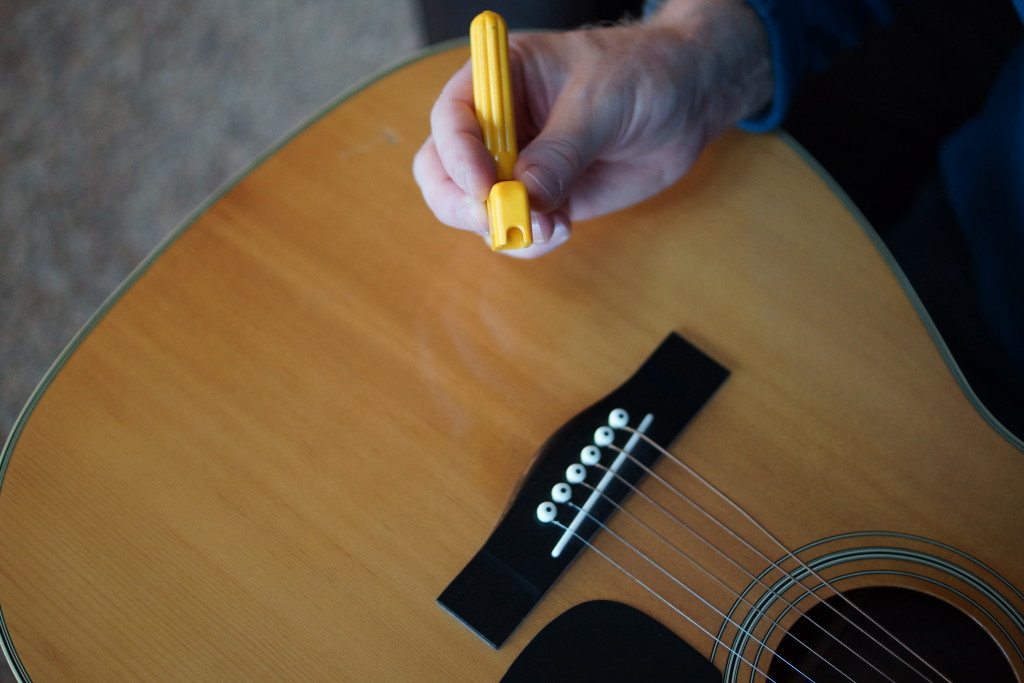
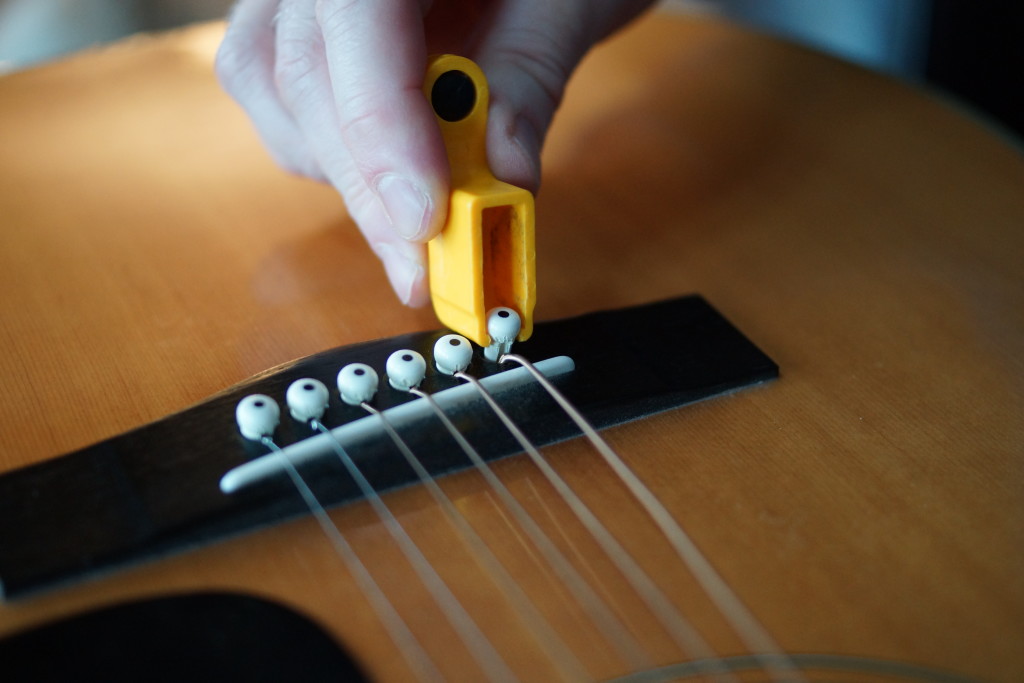
Place the notch around the pin, at the back of the bridge.
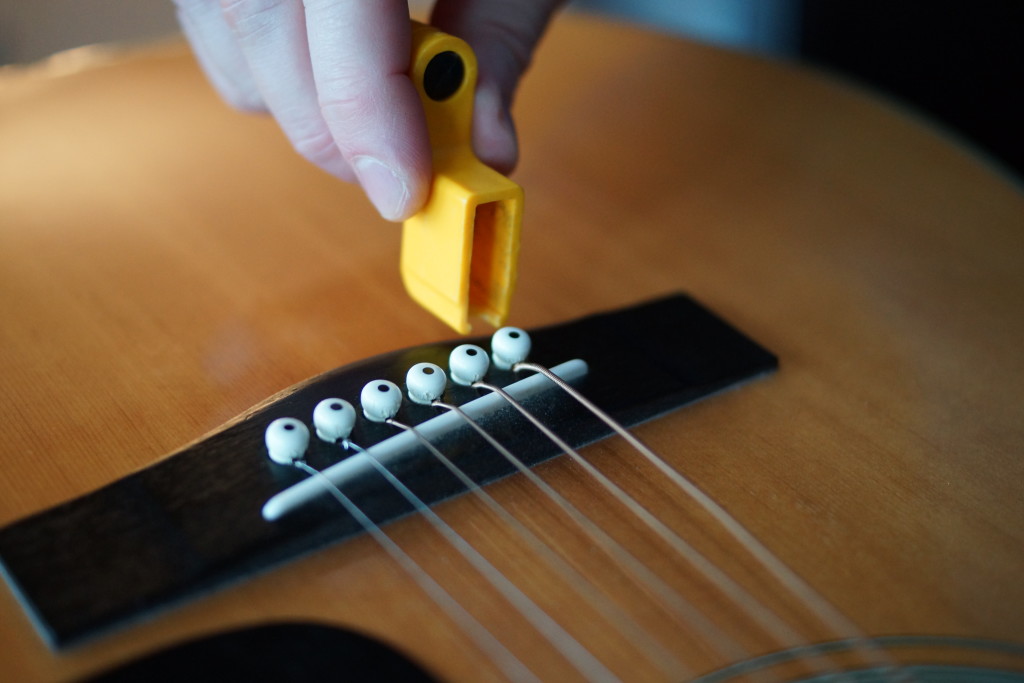
Lean the string winder back to gently pry the pin out
Once the pin is out enough, grab it with your fingers.
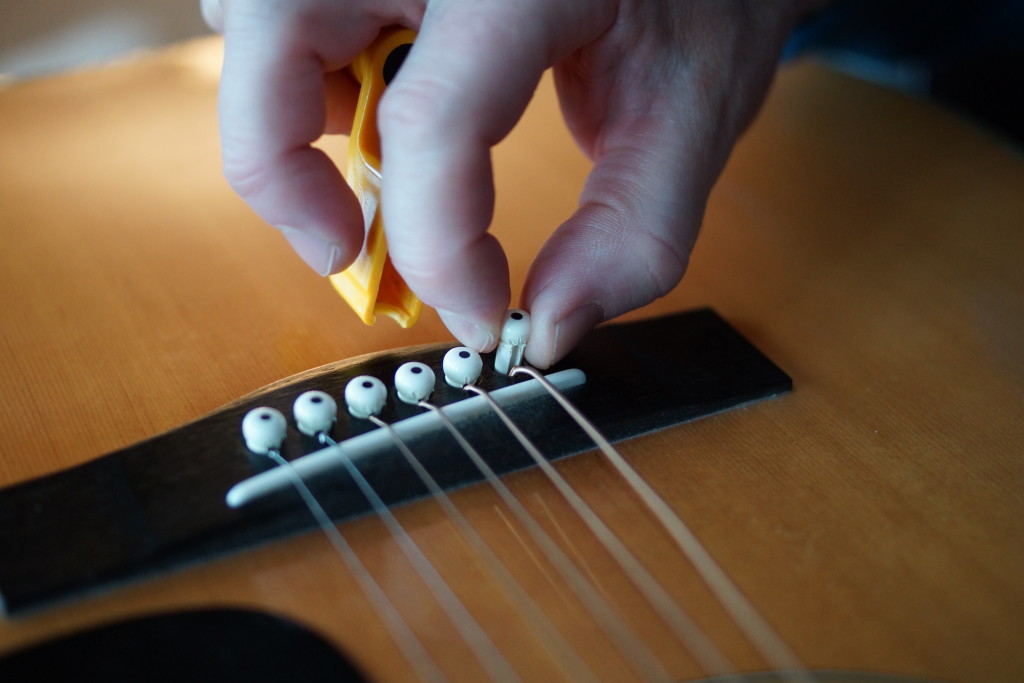
Remove the pin completely from the hole.
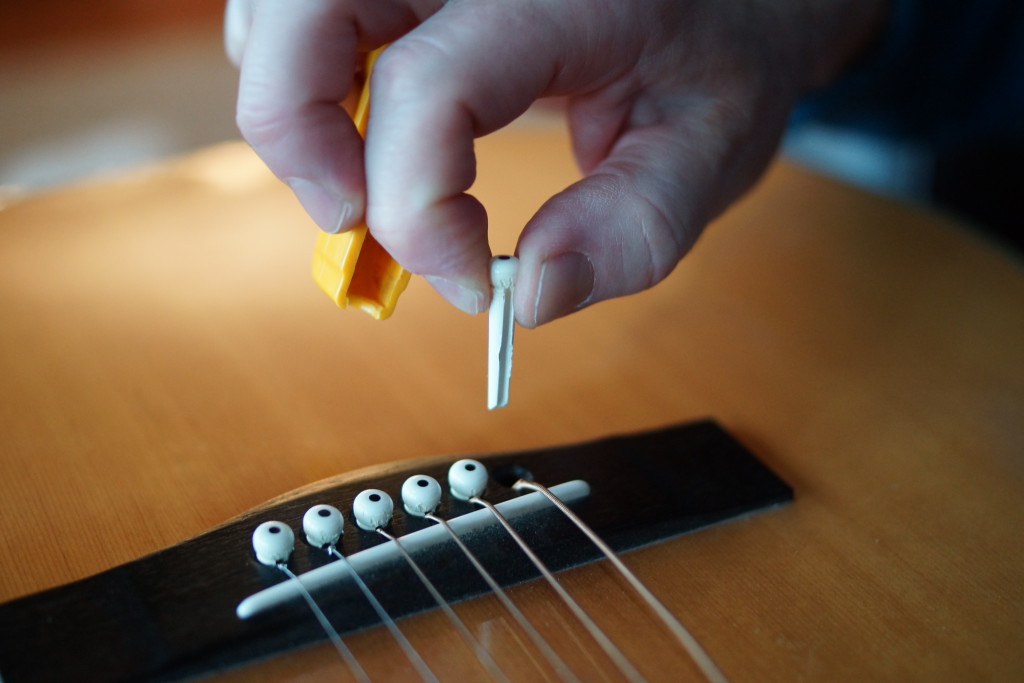
The string will now simply lift out of the hole.
Once the string is out, it can be discarded, or it can be kept as a back up. I usually have keep a few old ones on hand in case I break a string and need to quickly change it. I can use an old string until I get a chance to replace the entire set.
Now repeat the process for the rest of the strings, until all the strings are removed.
Once all the strings are removed, use a cloth to remove dust on the head stock and bridge areas.
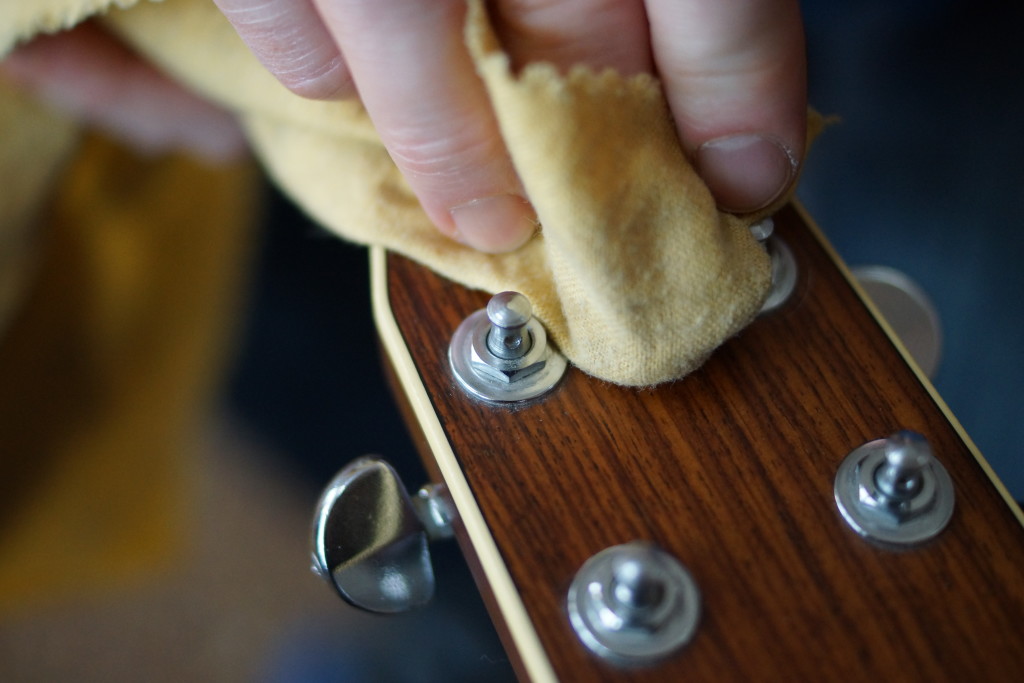
You can even use a guitar cleaning spray.
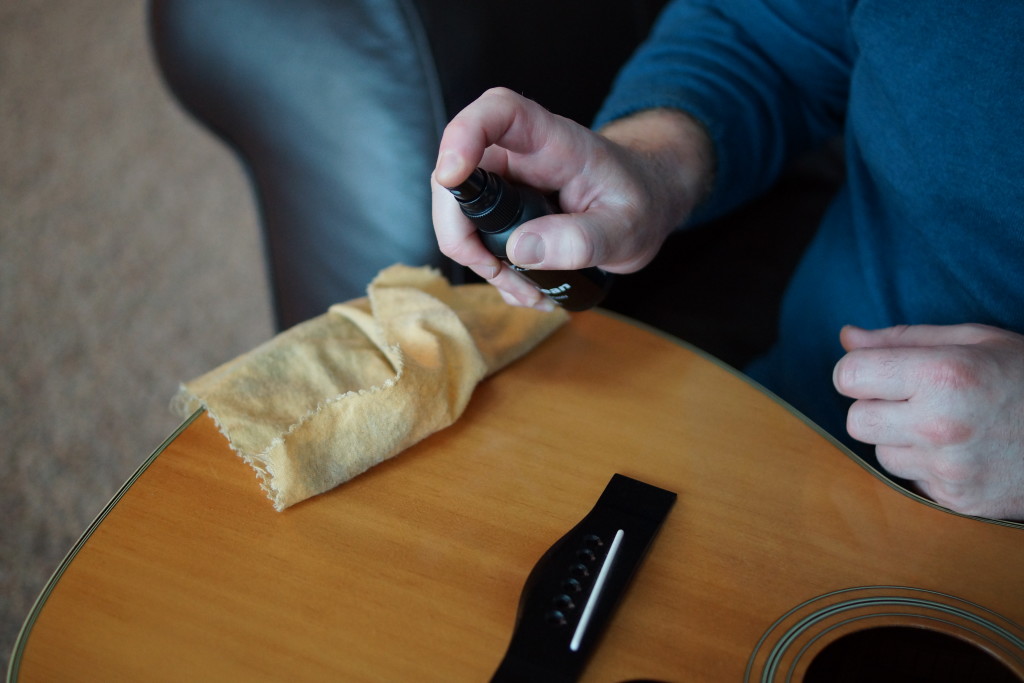
This is also a good opportunity to apply a lemon oil fretboard treatment

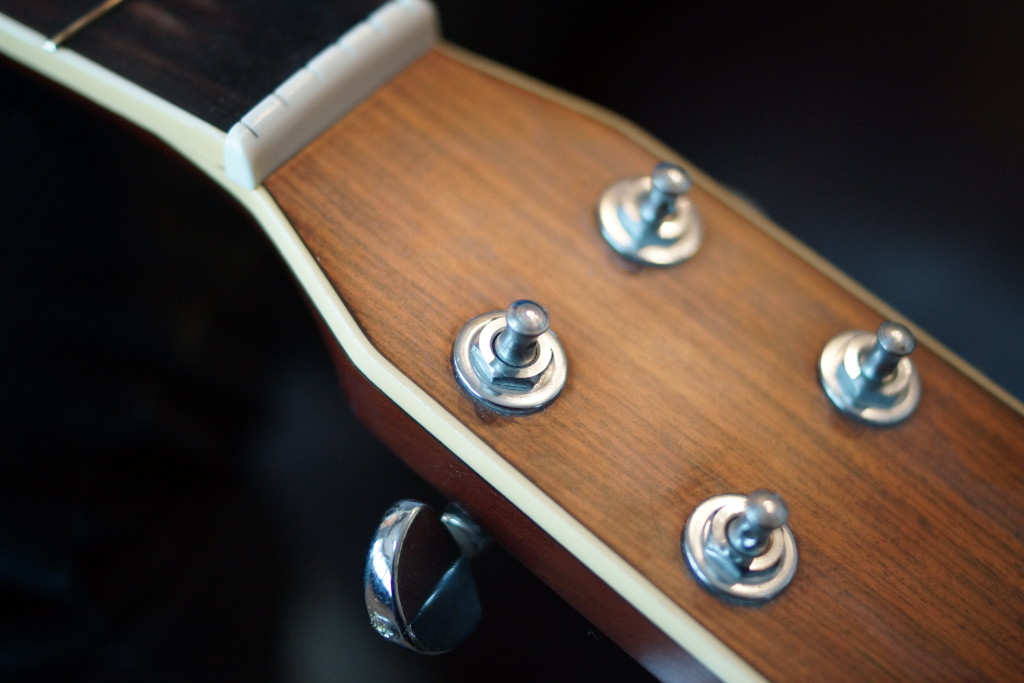
You should also check to make sure the nuts on the tuning pegs are snug.
Attaching the new strings
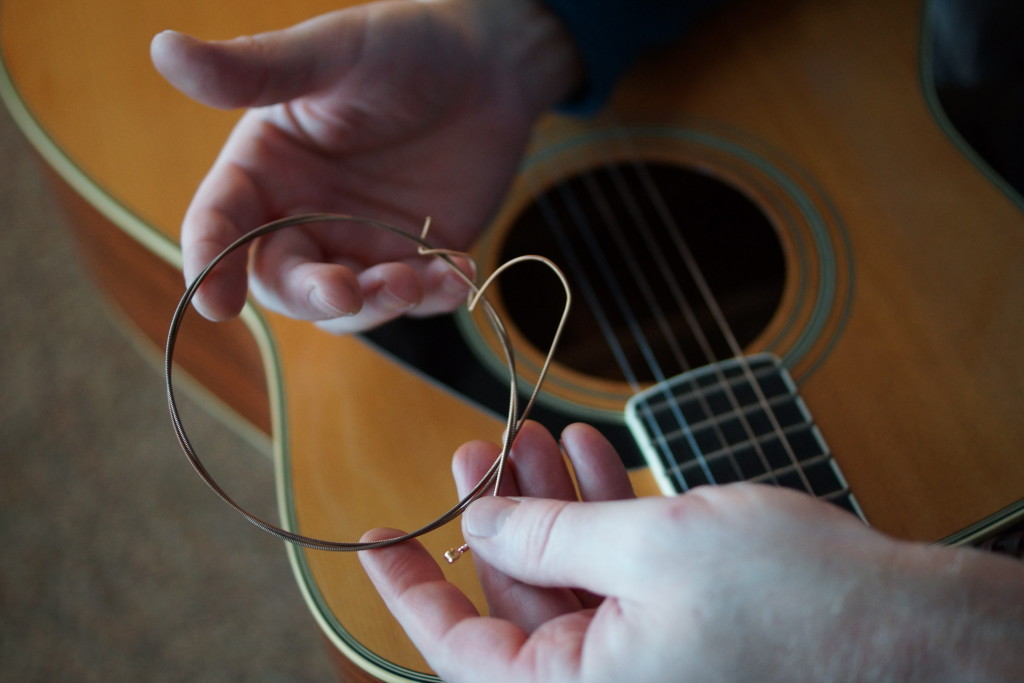
Remove the new strings from the package. Many brands of strings will have color coded ends, so that you know which string goes where.
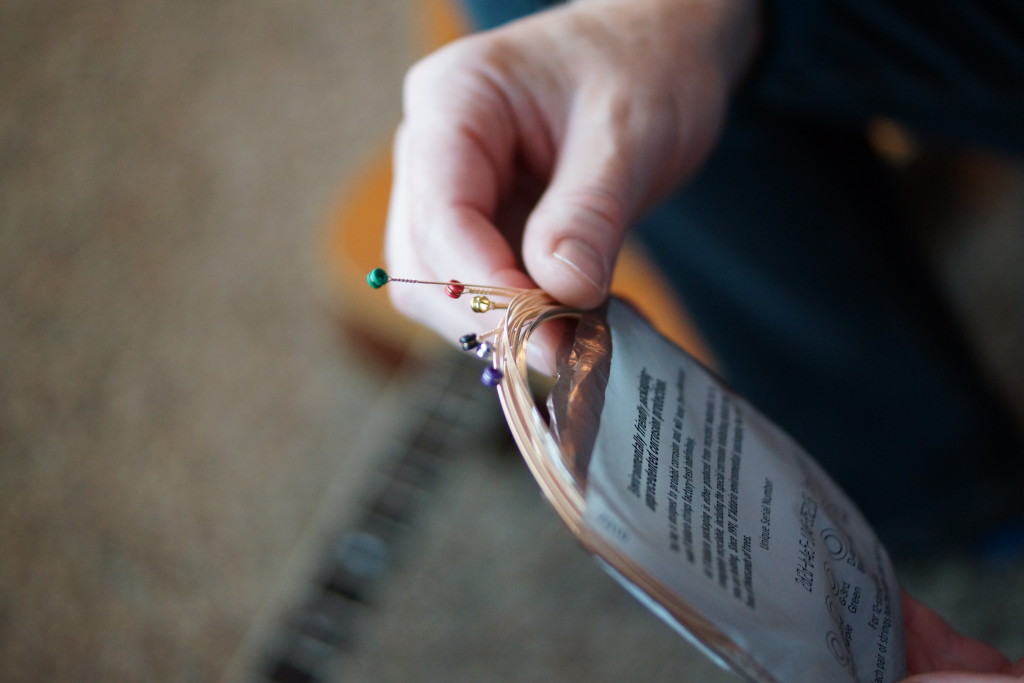
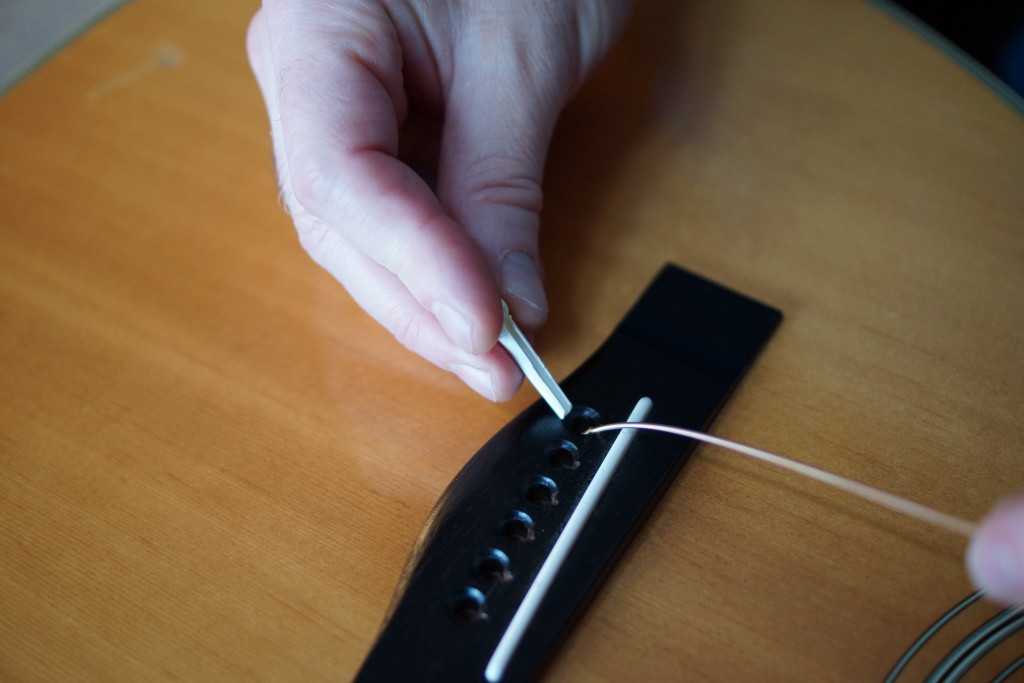
I always start with the thickest string (the low E-string) and then go in order through the strings. Uncoil the string and place the ball end into the hole on the bridge.
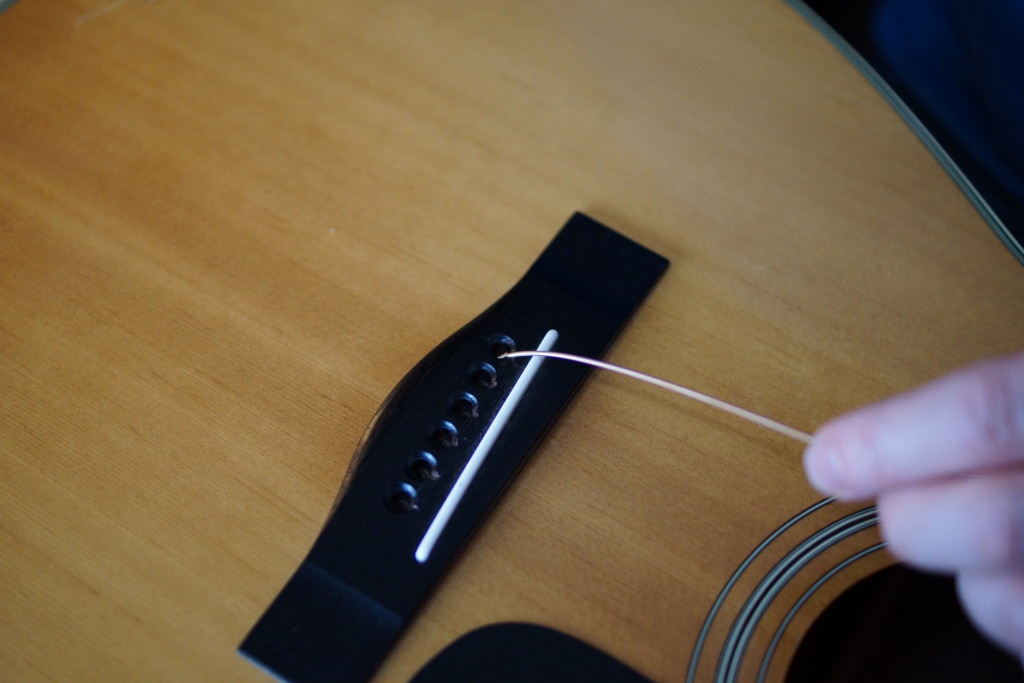
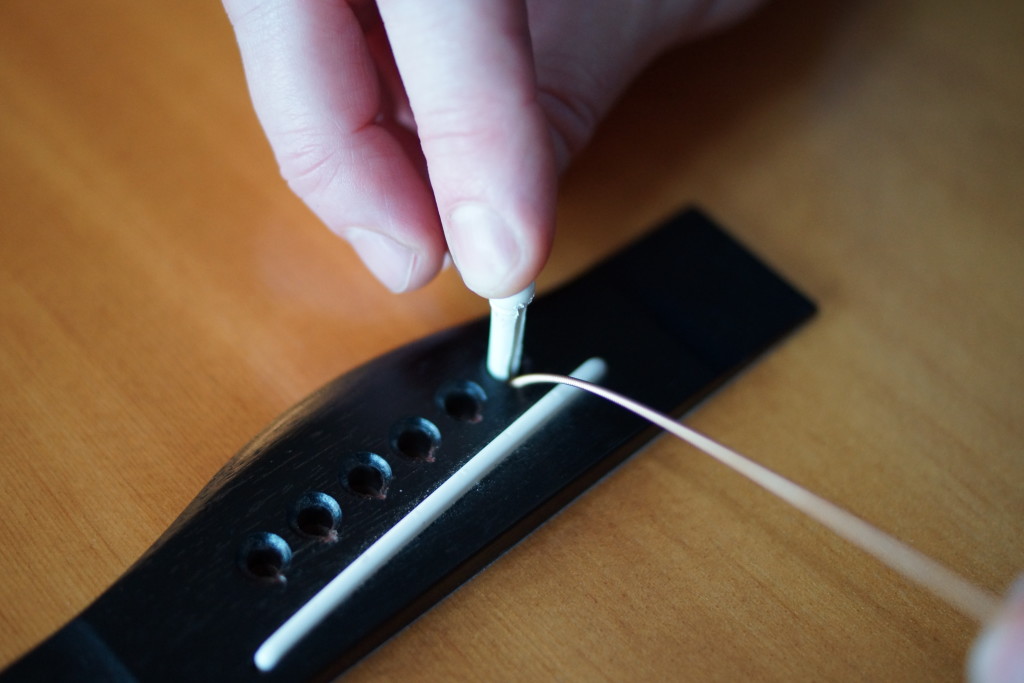
Next, place the bridge pin back into the hole. It is important that the groove in the pin faces the string.
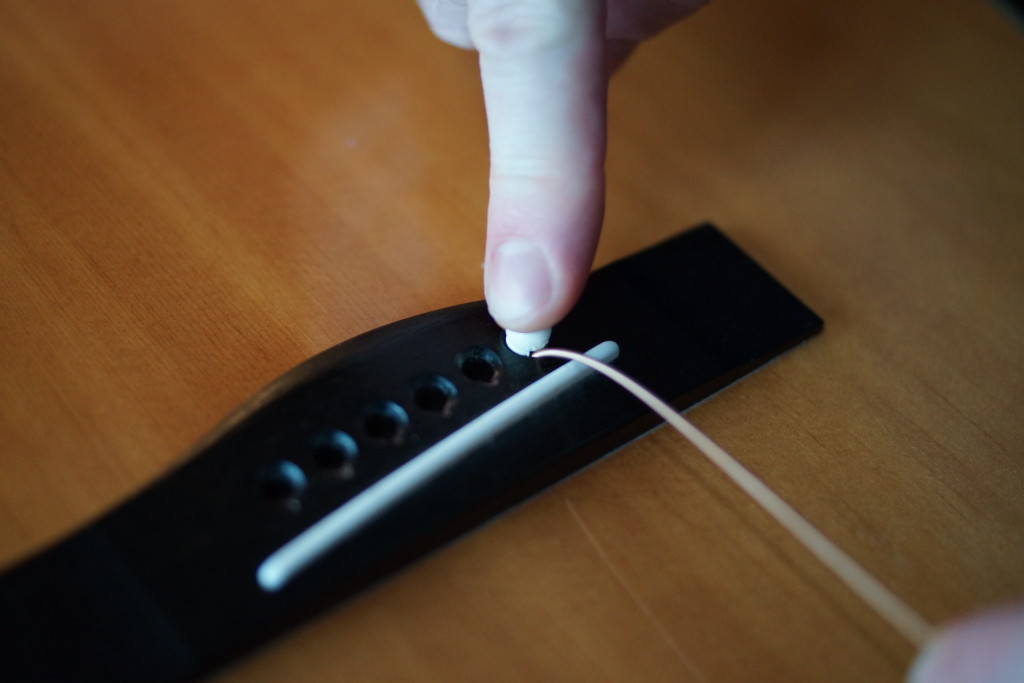
Push the pin in the hole while simultaneously pulling on the string. This will ensure the the pin seats correctly.
Make sure the pin is pushed fully in to the hole
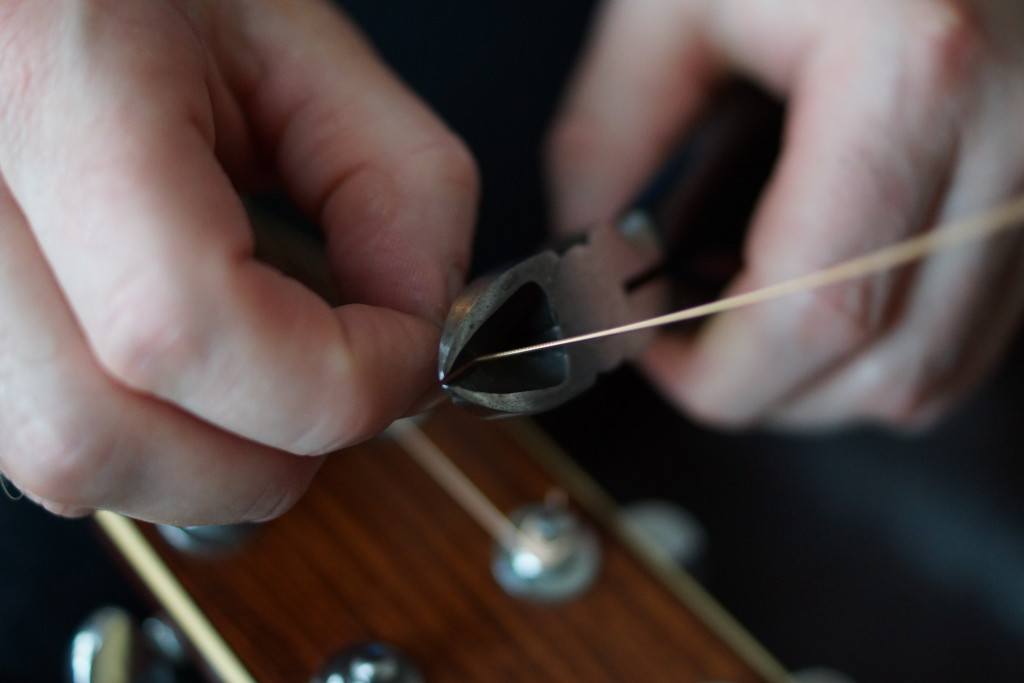
Next, we need to cut off the excess string from the other end. A good rule of thumb is the distance of one and a half tuning pegs. Measure from the tuning peg you are using to the next, and then another half. From there, we can cut off the remaining string length.
Use the wire cutters to cut the string.

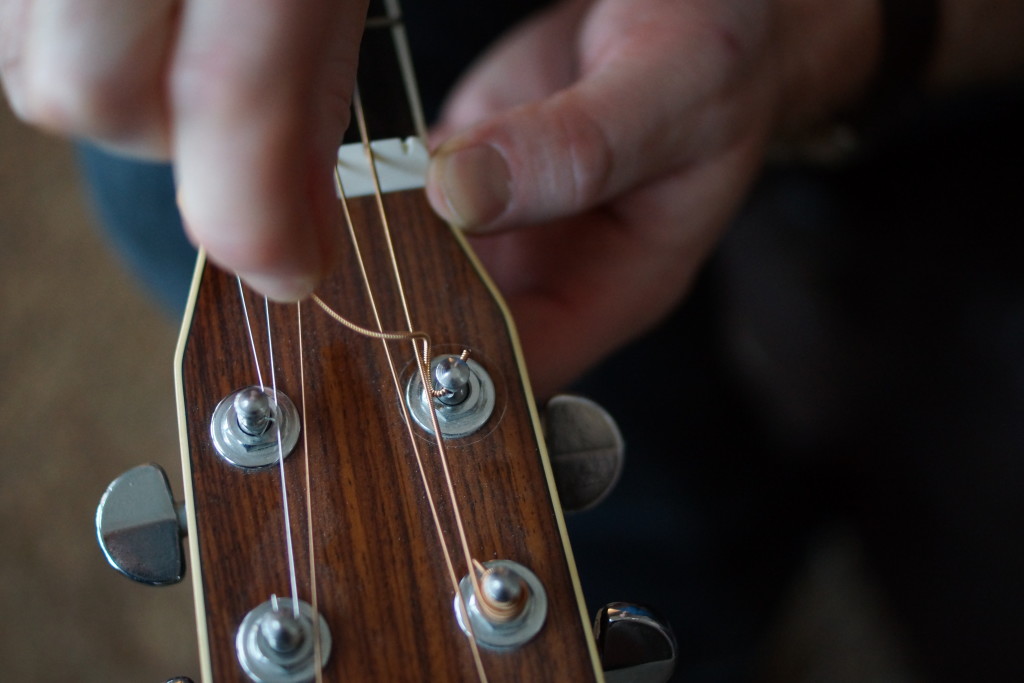
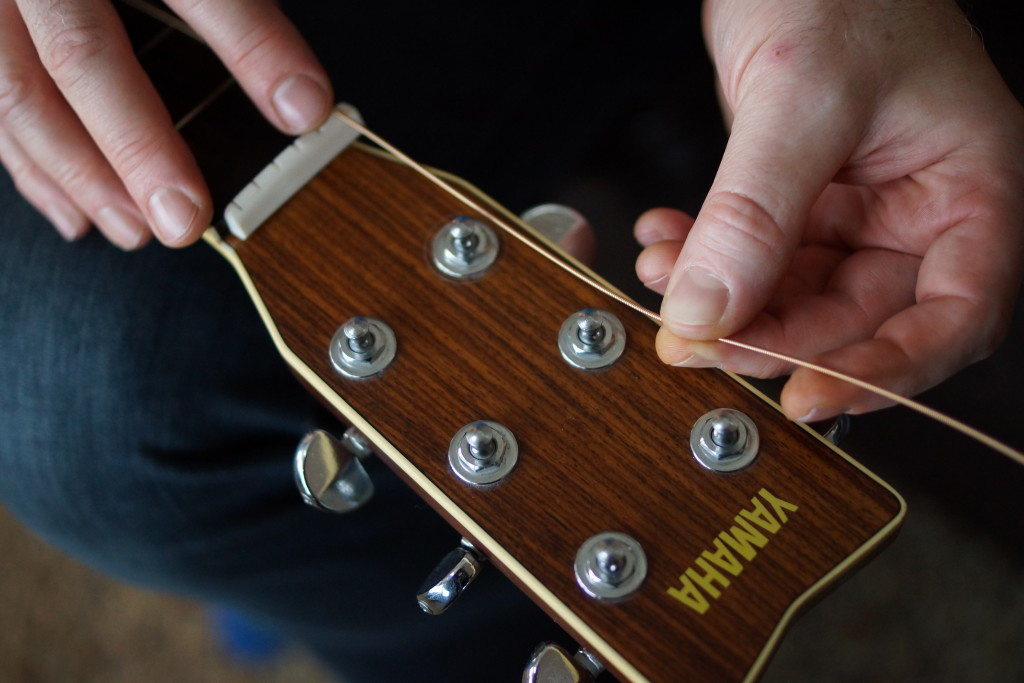
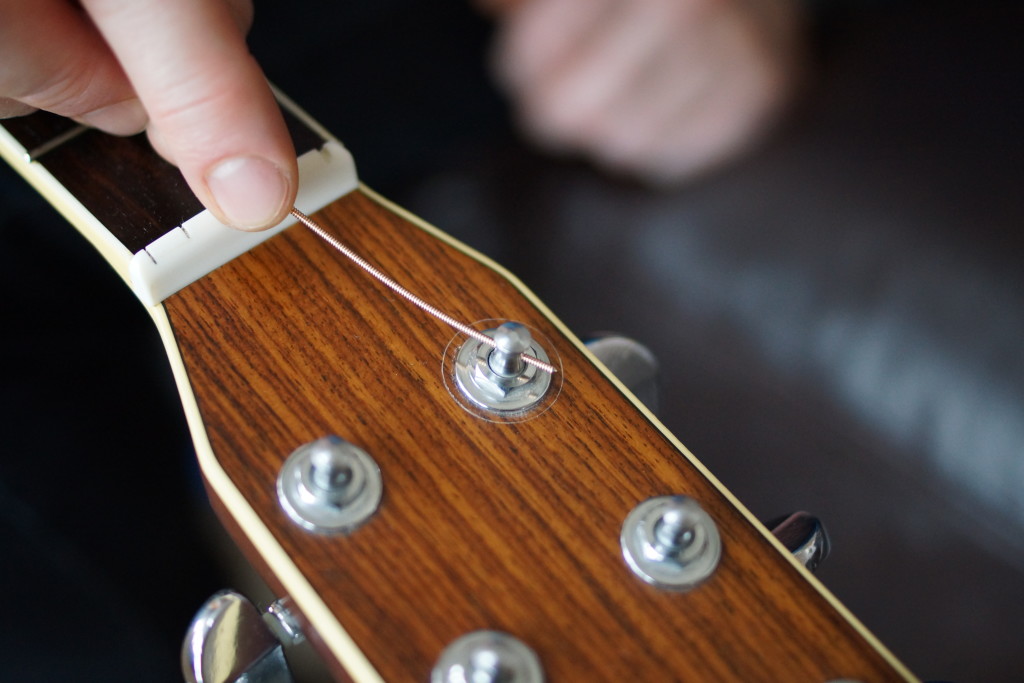
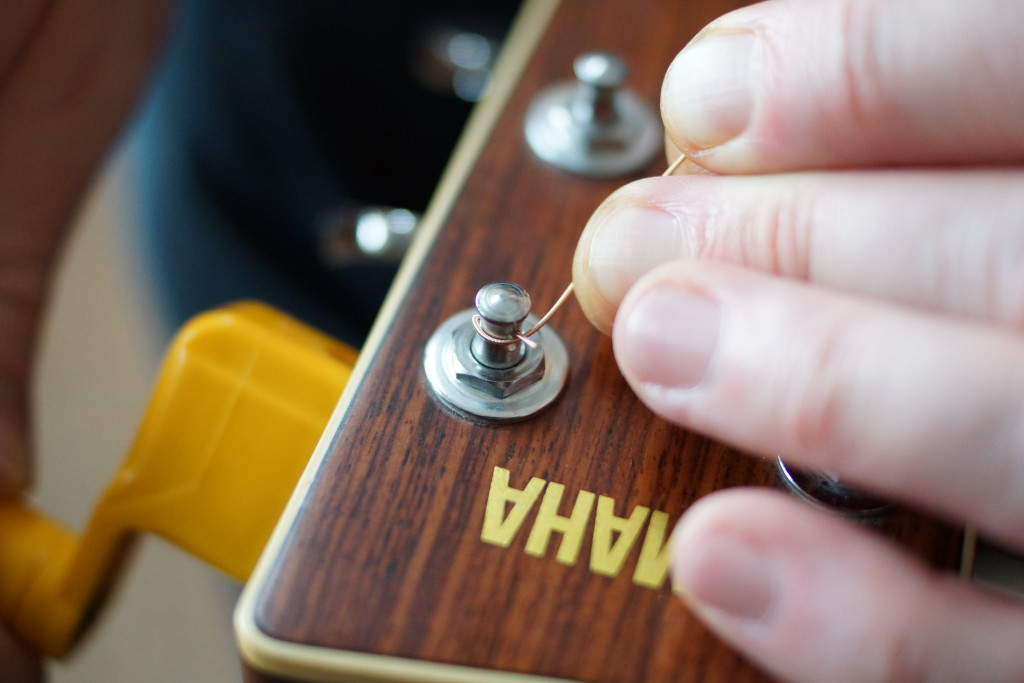
Now place the end of the string through the hole in the tuning peg post, leaving a small portion poking through.
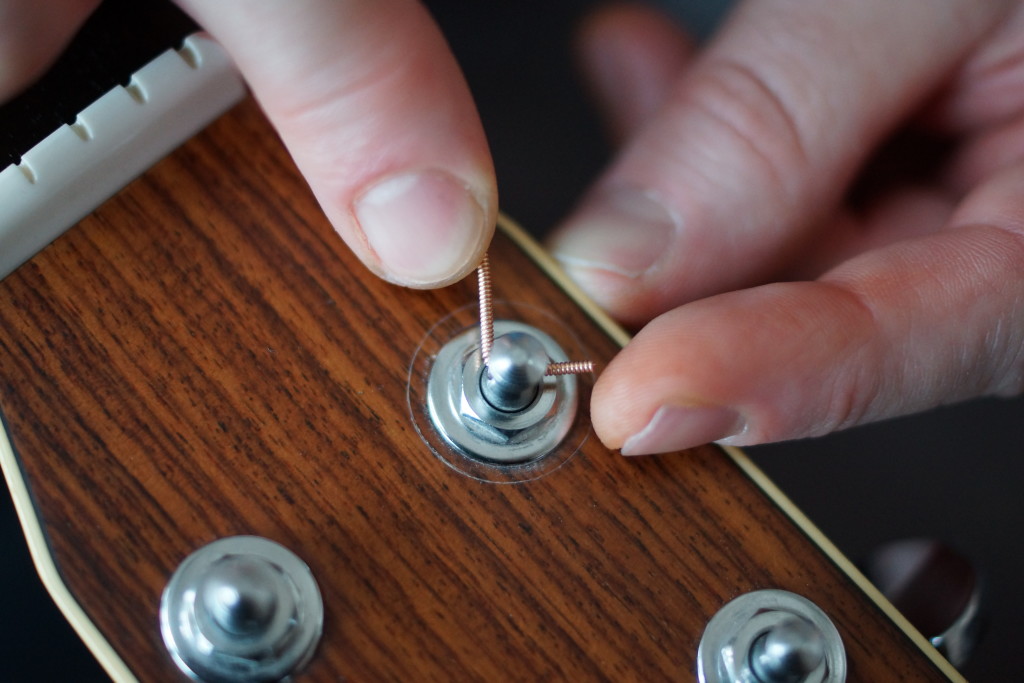
Using your fingers, give the string a 90 degree bend at the post to help hold it in place.
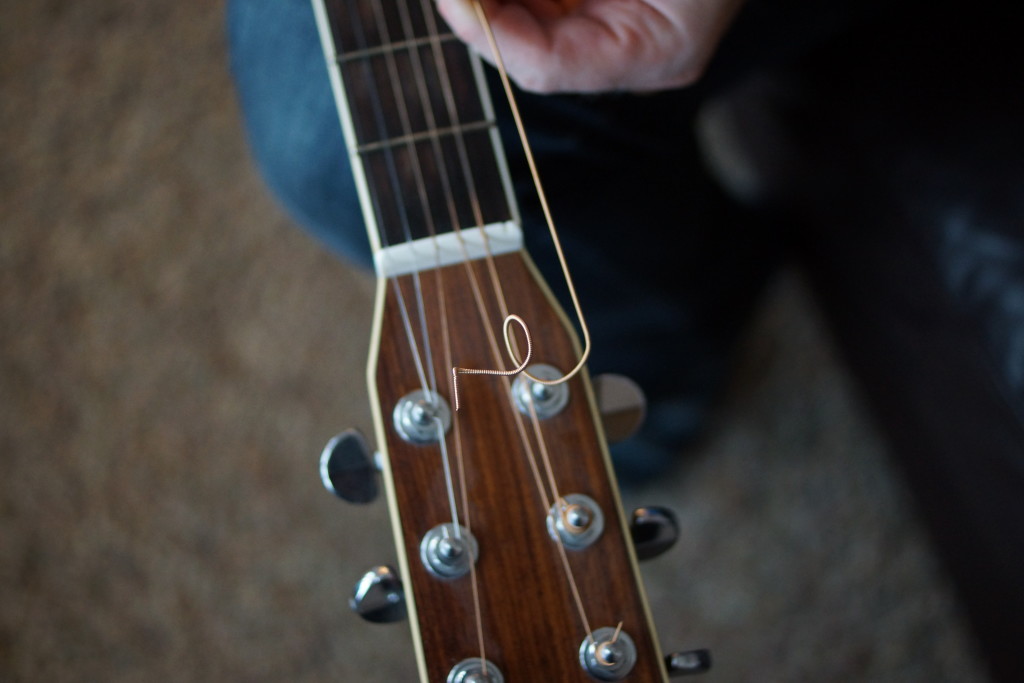
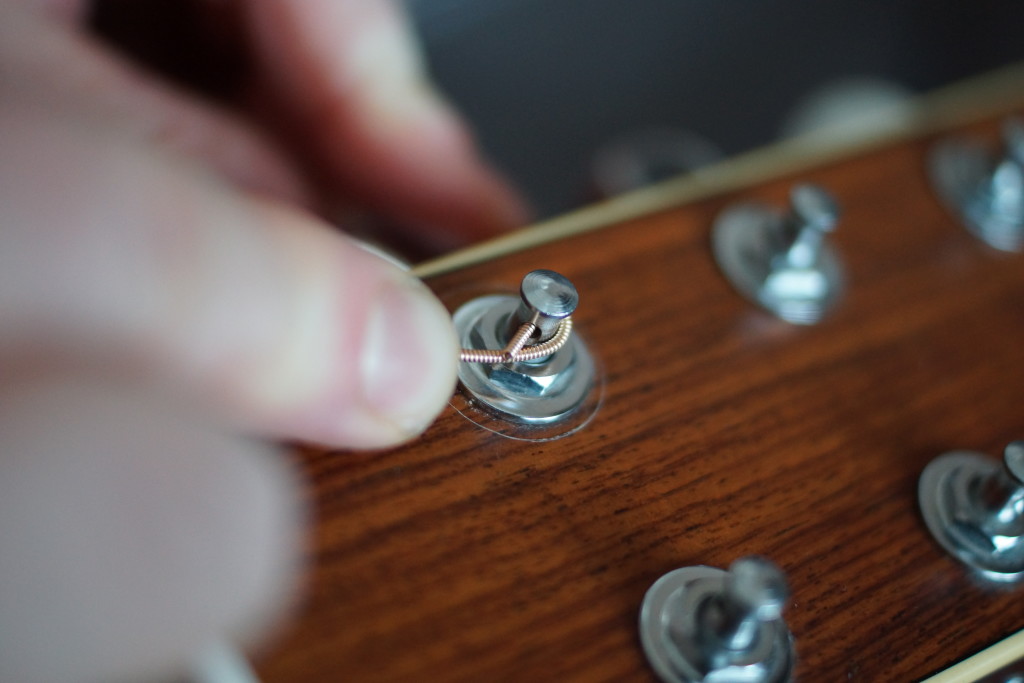
Start turning the tuning key, so that the string wraps around the bottom of the post. Make sure that the string wraps under the piece that is sticking out.
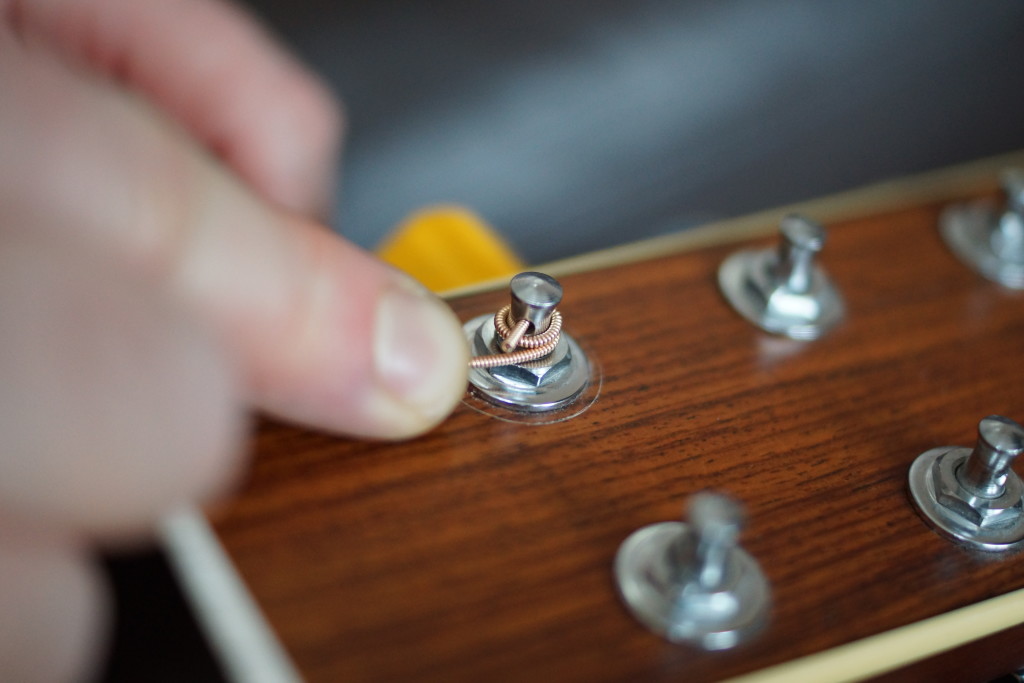
Continue to wind the string, making sure every wrap goes under the previous one.
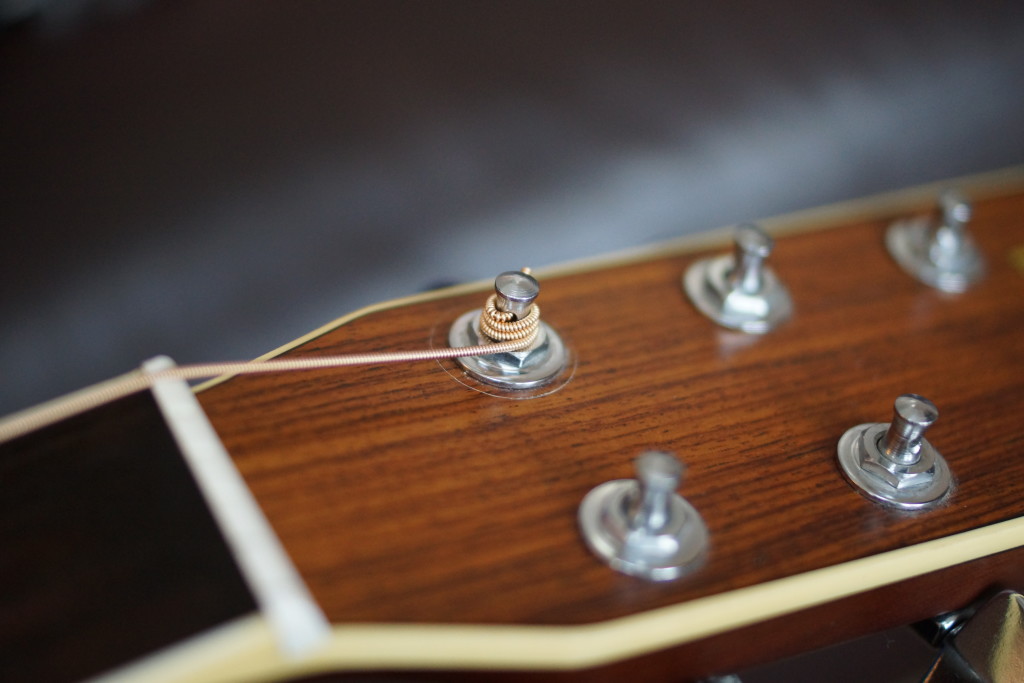
We won’t tune the string up to pitch yet, just give it a few turns to secure it. Next, follow the exact same procedure for the next two strings.
For the remaining three strings, the technique will be the same, but they strings will wrap around the top of the posts, not underneath. However, make sure the string winds underneath the end that is sticking out, and each wrap goes under the previous one.
Tuning the guitar
Once all the strings are on, we can tune the guitar. The easiest way to do this is to use an electronic tuner.

Stretching the strings
After the strings are tuned, you will notice they will easily go out of tune. This is because they will need to be “stretched”. This is simply ensuring the strings are tightly wound around the post, and will not loosen up as you play them. To “stretch” the strings, grab one string at at time, and pull it out away from the neck. Do this a few times, retune the string and repeat until the string stays in tune after you pull it (usually 4 or 5 times). Once the string stays in tune after being pulled, it has been successfully “stretched”.

Your guitar is now ready to play! To keep your strings lasting longer, make sure your hands are clean when you play, and wipe the strings off after playing.
Troy
Studio33Guitar